In this lesson you will learn how use GitHub.com to track changes to your coding projects. GitHub is a website that makes it easier to use the source control system called Git. Github also serves as a way to share your code and work collaboratively with your fellow programmers.
This lesson presumes you've already complete Lesson 0 - Setup, in particular installing git.
These instructions are meant to augment Lesson 1 giving the opportunity to learn the workflow of using Git. These github instructions should be started right after you've created your initial WPILib project.
Next we're going to initialize our git repo and push code to github.com. We do this now so that we record the initial state of the code before we start making changes. This way we can track every change we make and if want to revert back to an earlier working copy of the code, we can do that.
GitHub also acts as a backup of our code so we don't lose it. GitHub also let's us share our code with other members of the team so we can collaborate.

Open the VS Code command palette and type "git init" and select the "Git: Initialize Repository" option. Select the current directory (should be called MyFirstRobot).
Go to GitHub.com, make sure you're logged in and navigate to your Repositories page/tab. In the upper right of the page there should be a green "New" button for creating a new repo. Click it.
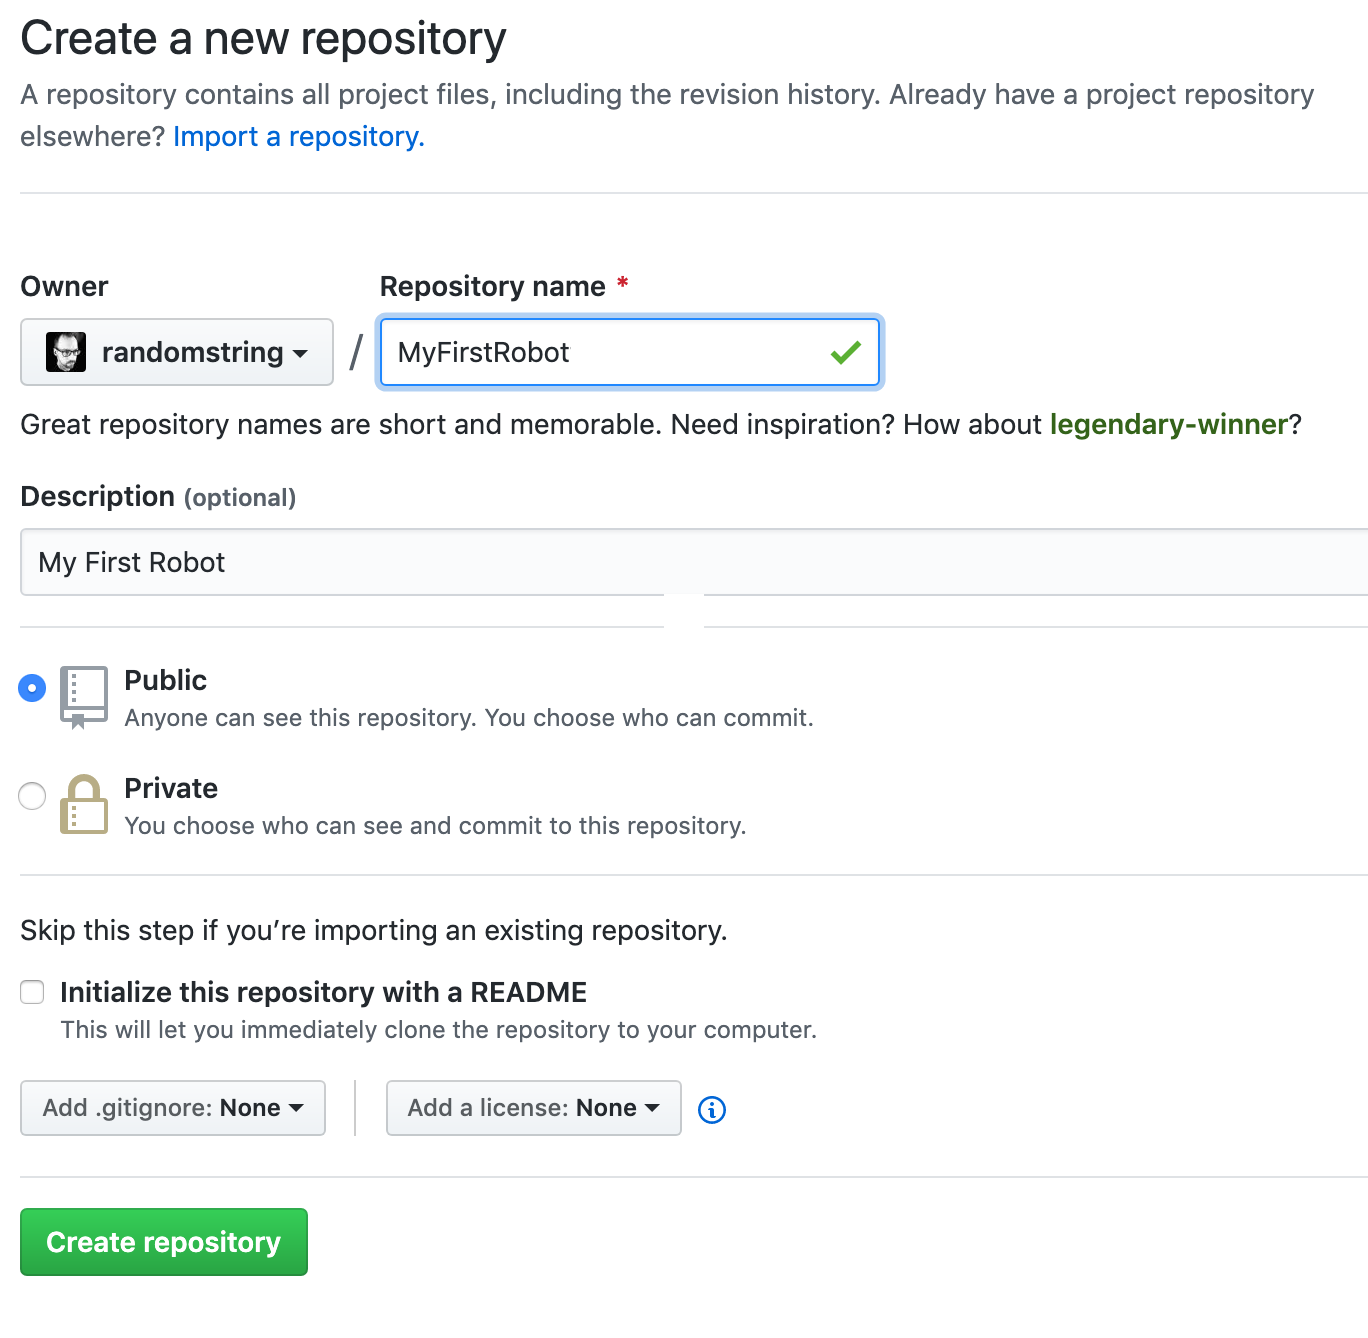
Fill out the form just like it is in the picture. The repository name should match the name of the local project directory. In this case "MyFirstRobot". The other fields are not critical, but it is good practice to give a good one sentence description for your projects. Leave the setting the ".gitignore" option to "None."
Click the green "Clone or download" button and copy the URL. You'll need that for the next step. For me the URL looks like "https://github.com/randomstring/MyFirstRobot.git" yours will have your own username instead of "randomstring."
In the VS Code terminal (from the top menu select View > Terminal or press Ctrl+` ) then run the following command:
git remote add origin https://github.com/YOUR_USERNAME/MyFirstRobot.gitThis command connects your local git repository where you will be making changes, to your remote repository hosted on github.com.
For your first commit message use "WPILib generated code"
When committing code to github, you first you stage the changes. In VS Code you just click the "+" (plus icon) for the files and this sets the check in message for each of your files. You can click the big "+" icon at the top to commit all the changed files at once.
Next you click the check mark at the top to finish the commit.
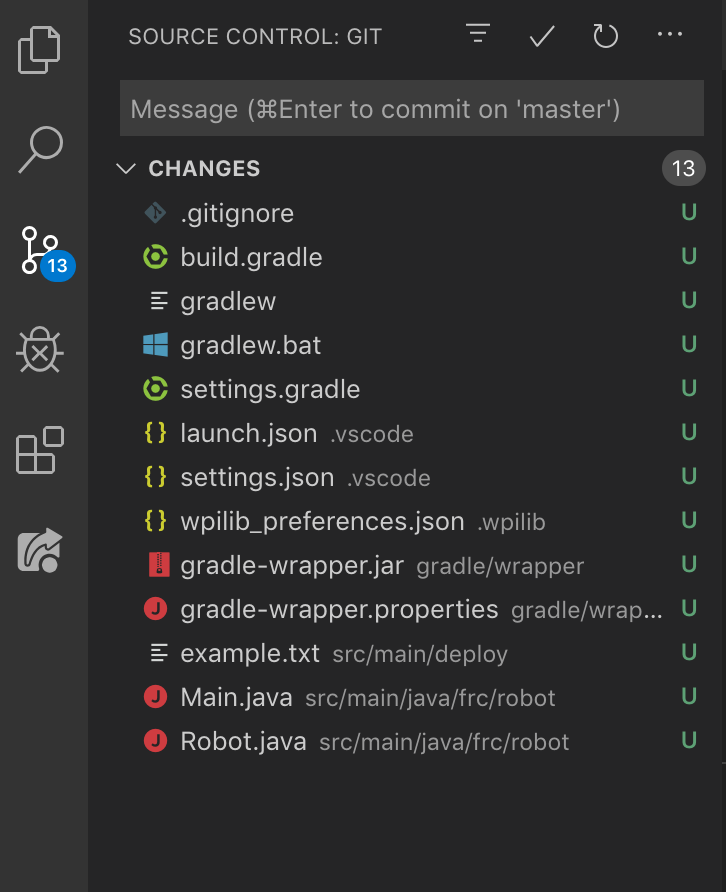
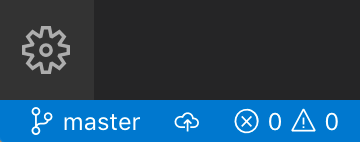
Now you can publish your changes back to GitHub.com. Just click the little cloud icon in the lower left.
You will be prompted for your github username and password by VS Code.
Run the following in the Terminal window in VS Code. You can open a new terminal in VSCode by pressing Ctr-` or running the >Terminal:Create New Terminal in the command prompt.
git config --global user.email "yourname@email.com"
git config --global user.name "your username"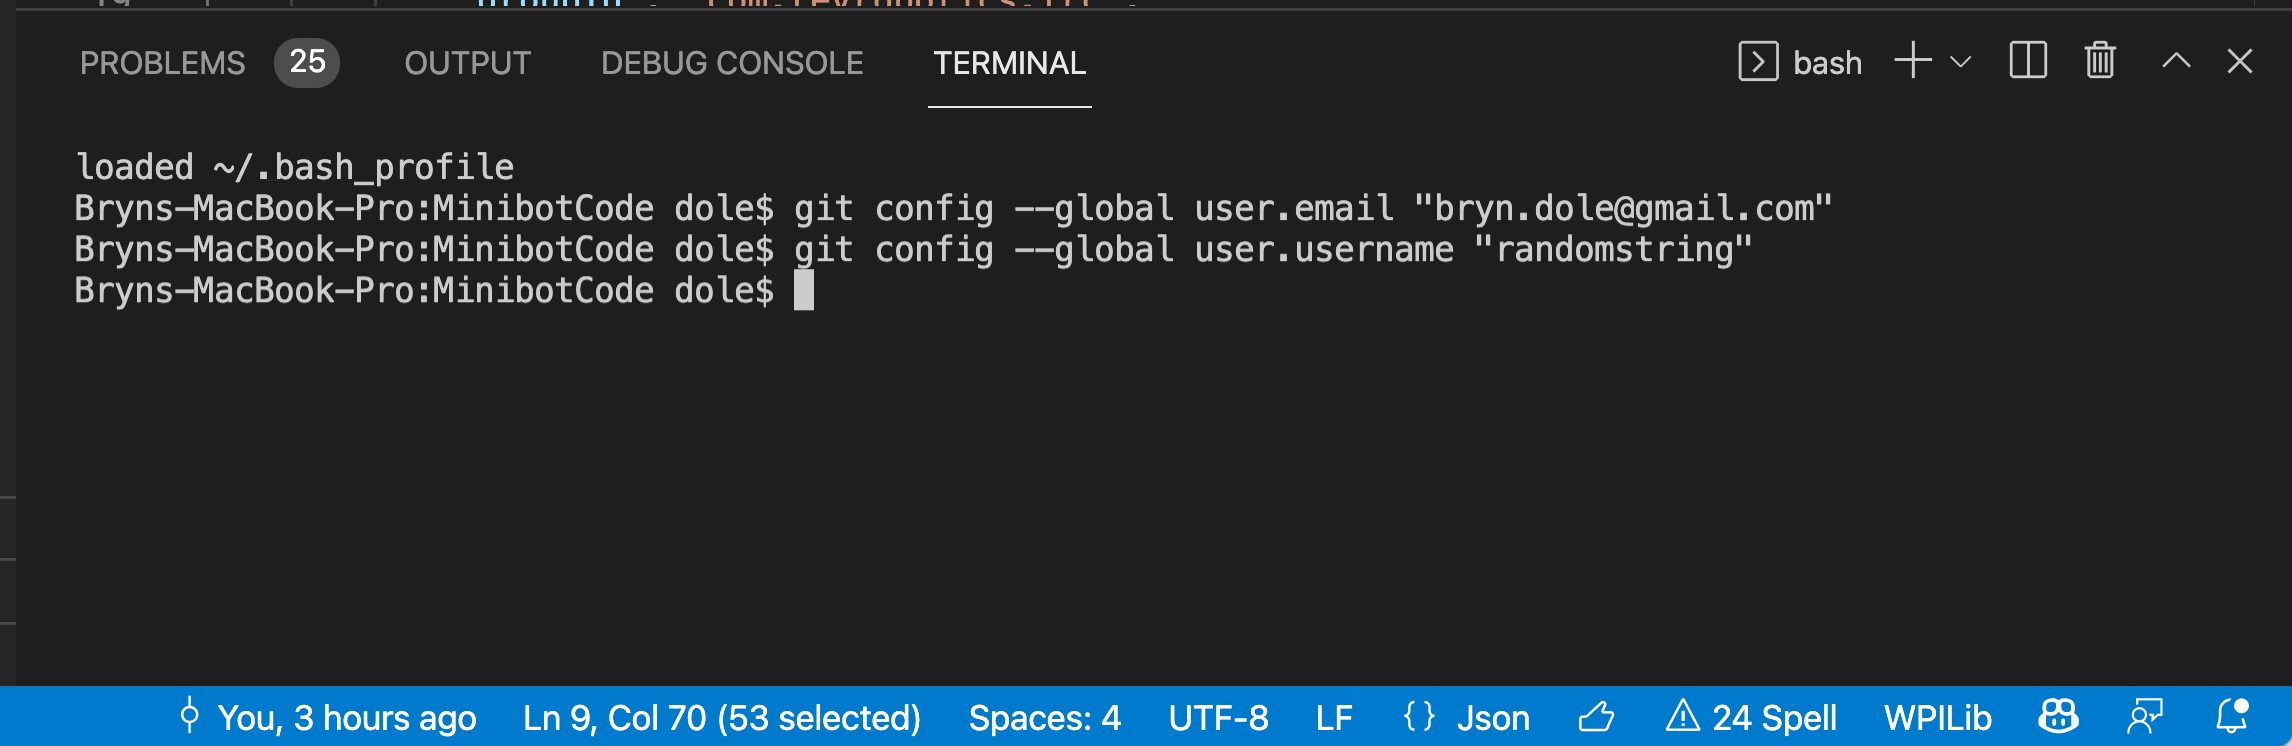
You have now pushed your code to GitHub! You can now go to your github.com page and navigate to your new online repo.